

Introduction
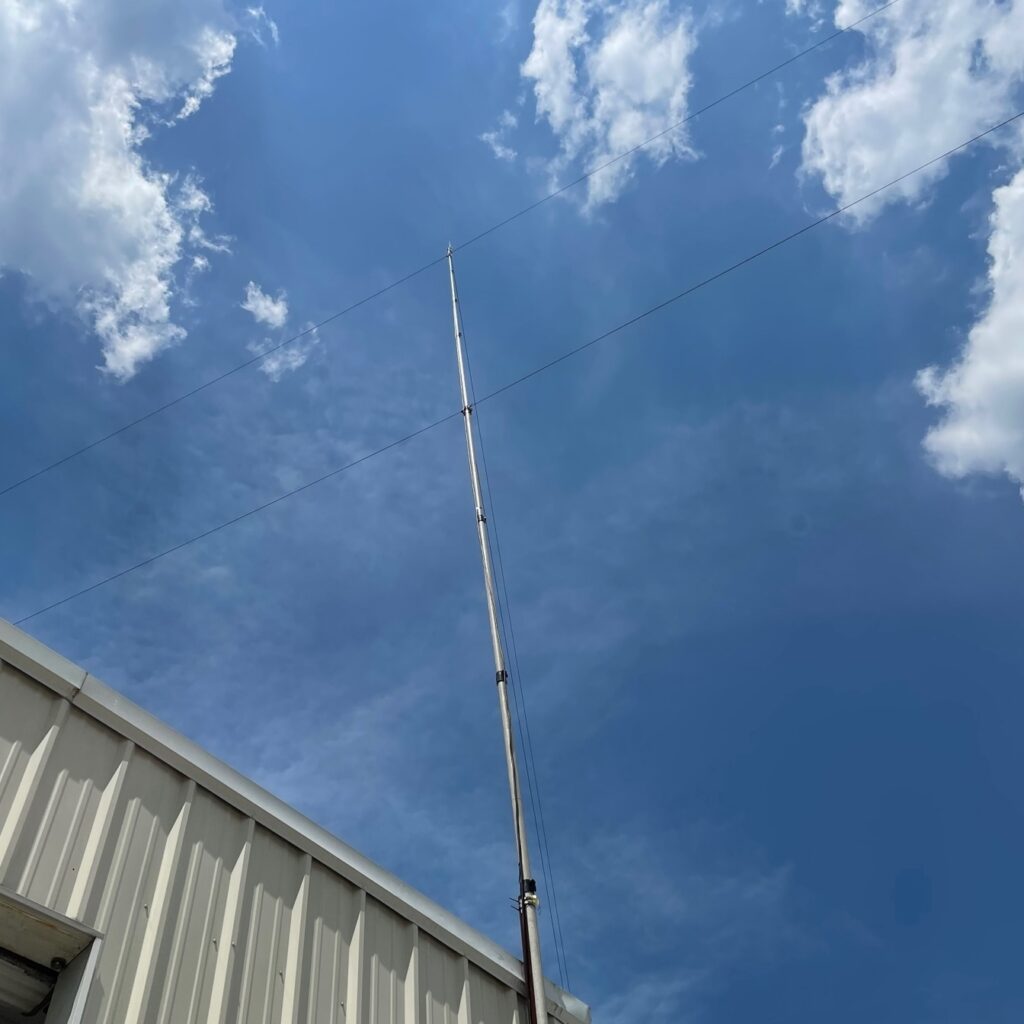
This post will be all about guying a push up mast. We will be using the example of a Helium Mining installation at our commercial business location, but the same principles can be used when guying anything. If you missed part one of the commercial business install you can see that here “My Helium Mining Installation Part 1 – Commercial Business Edition“. Part Two Commercial Business Edition – All About Guying Guying covers how we determined where we are going to place our guy points around the property. Guying is VERY important when keeping a tall structure vertical. Guying transfers the horizontal forces seen by the mast or structure into vertical force. The mast can handle the compressive force much better. This post will cover one of the three elevated guy points we used in this setup. Let’s dive in.

Positioning
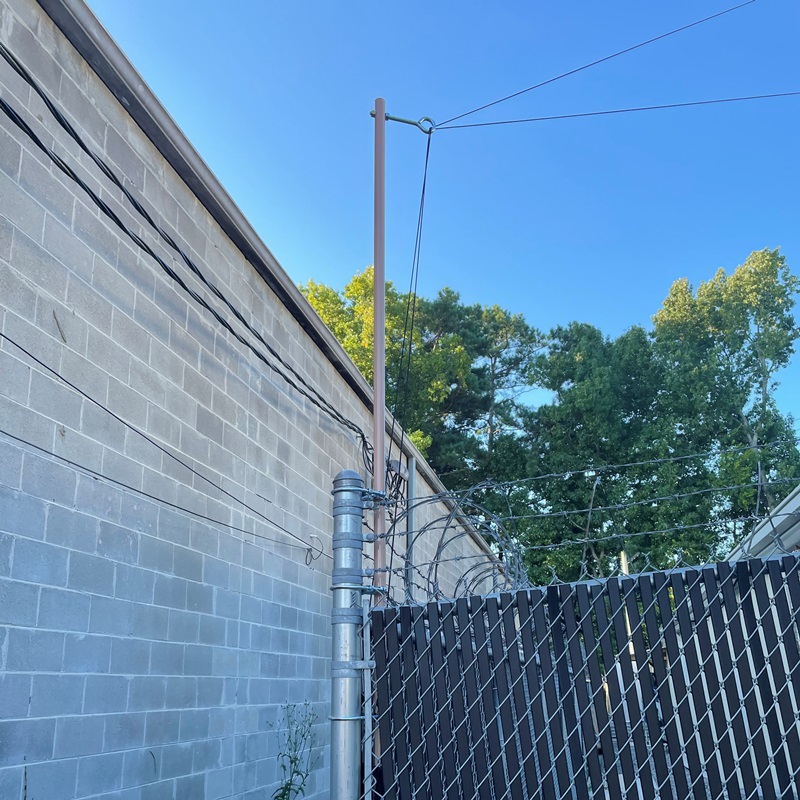
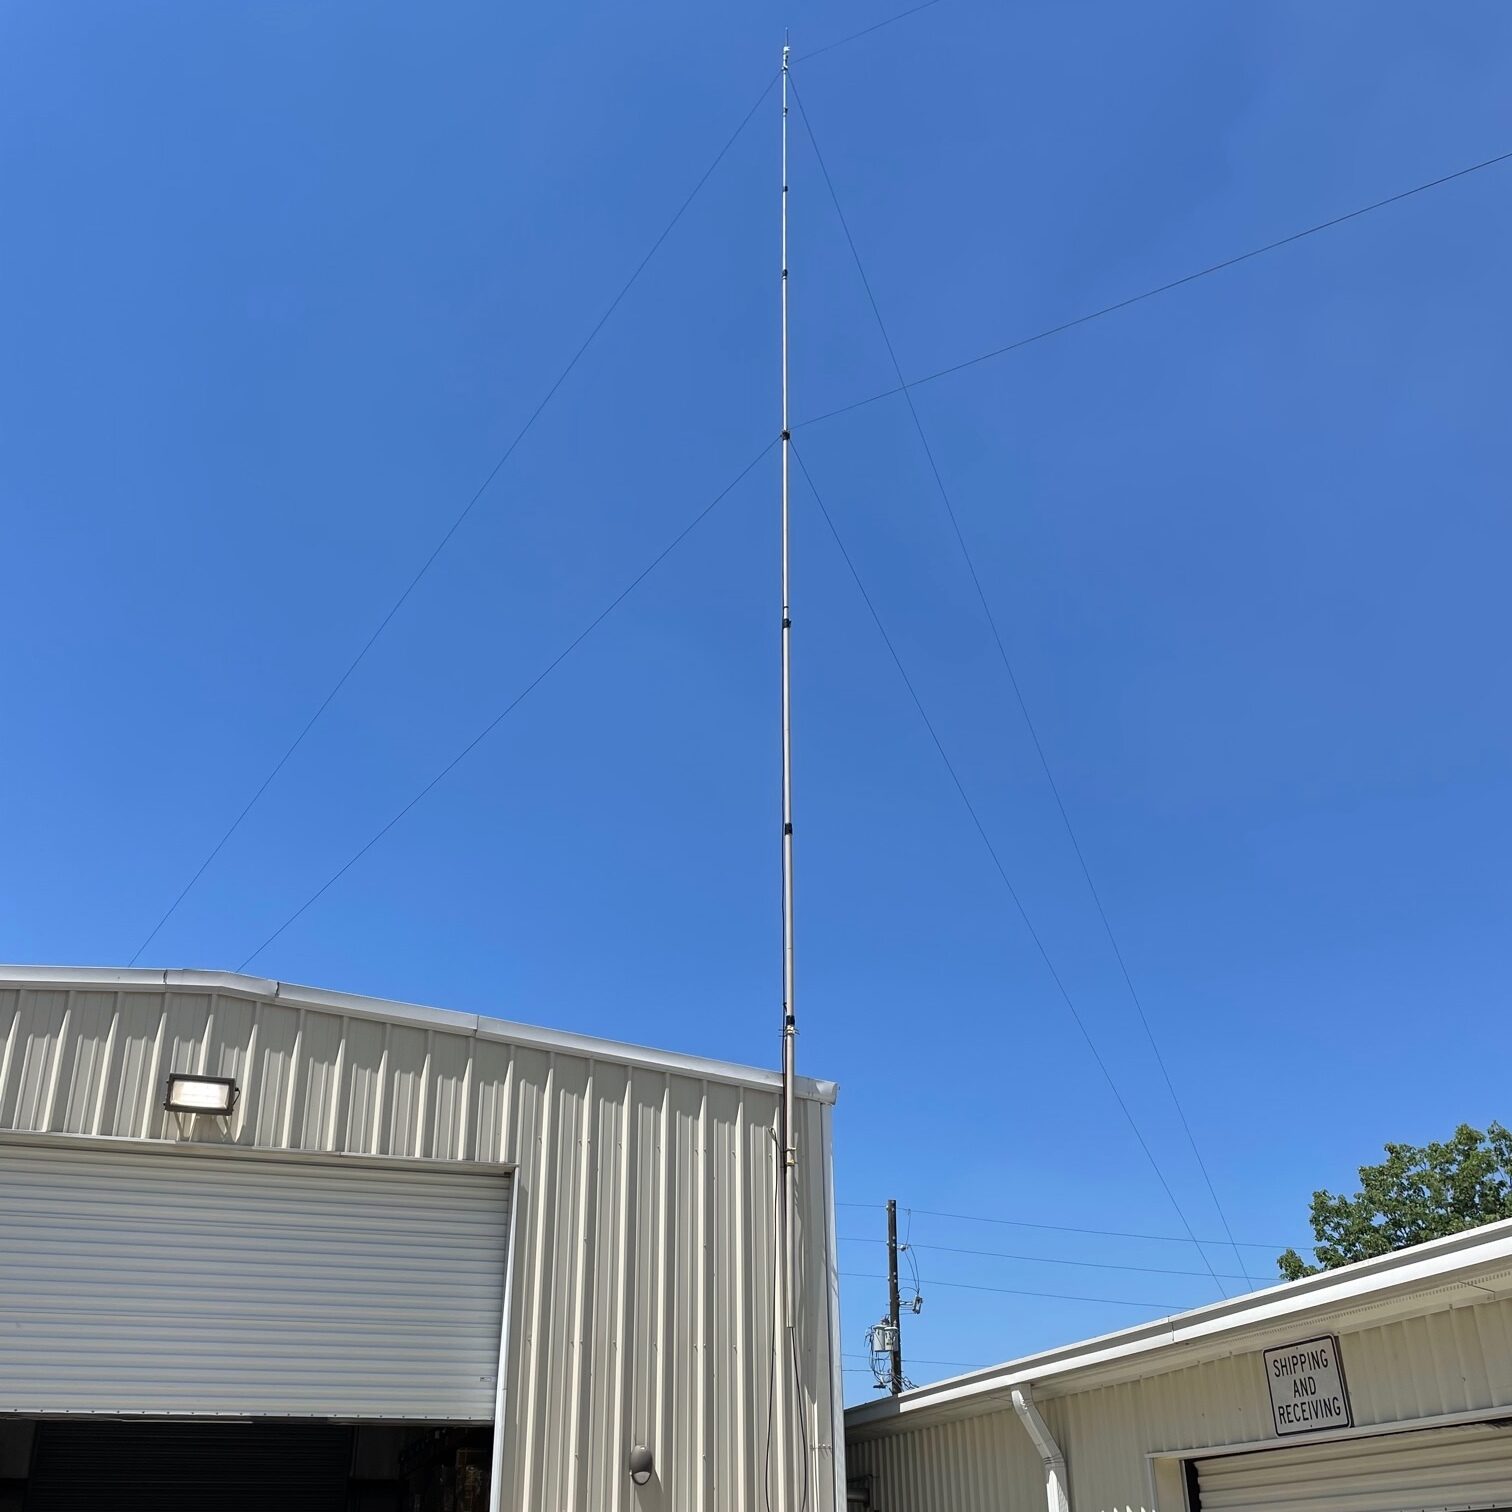
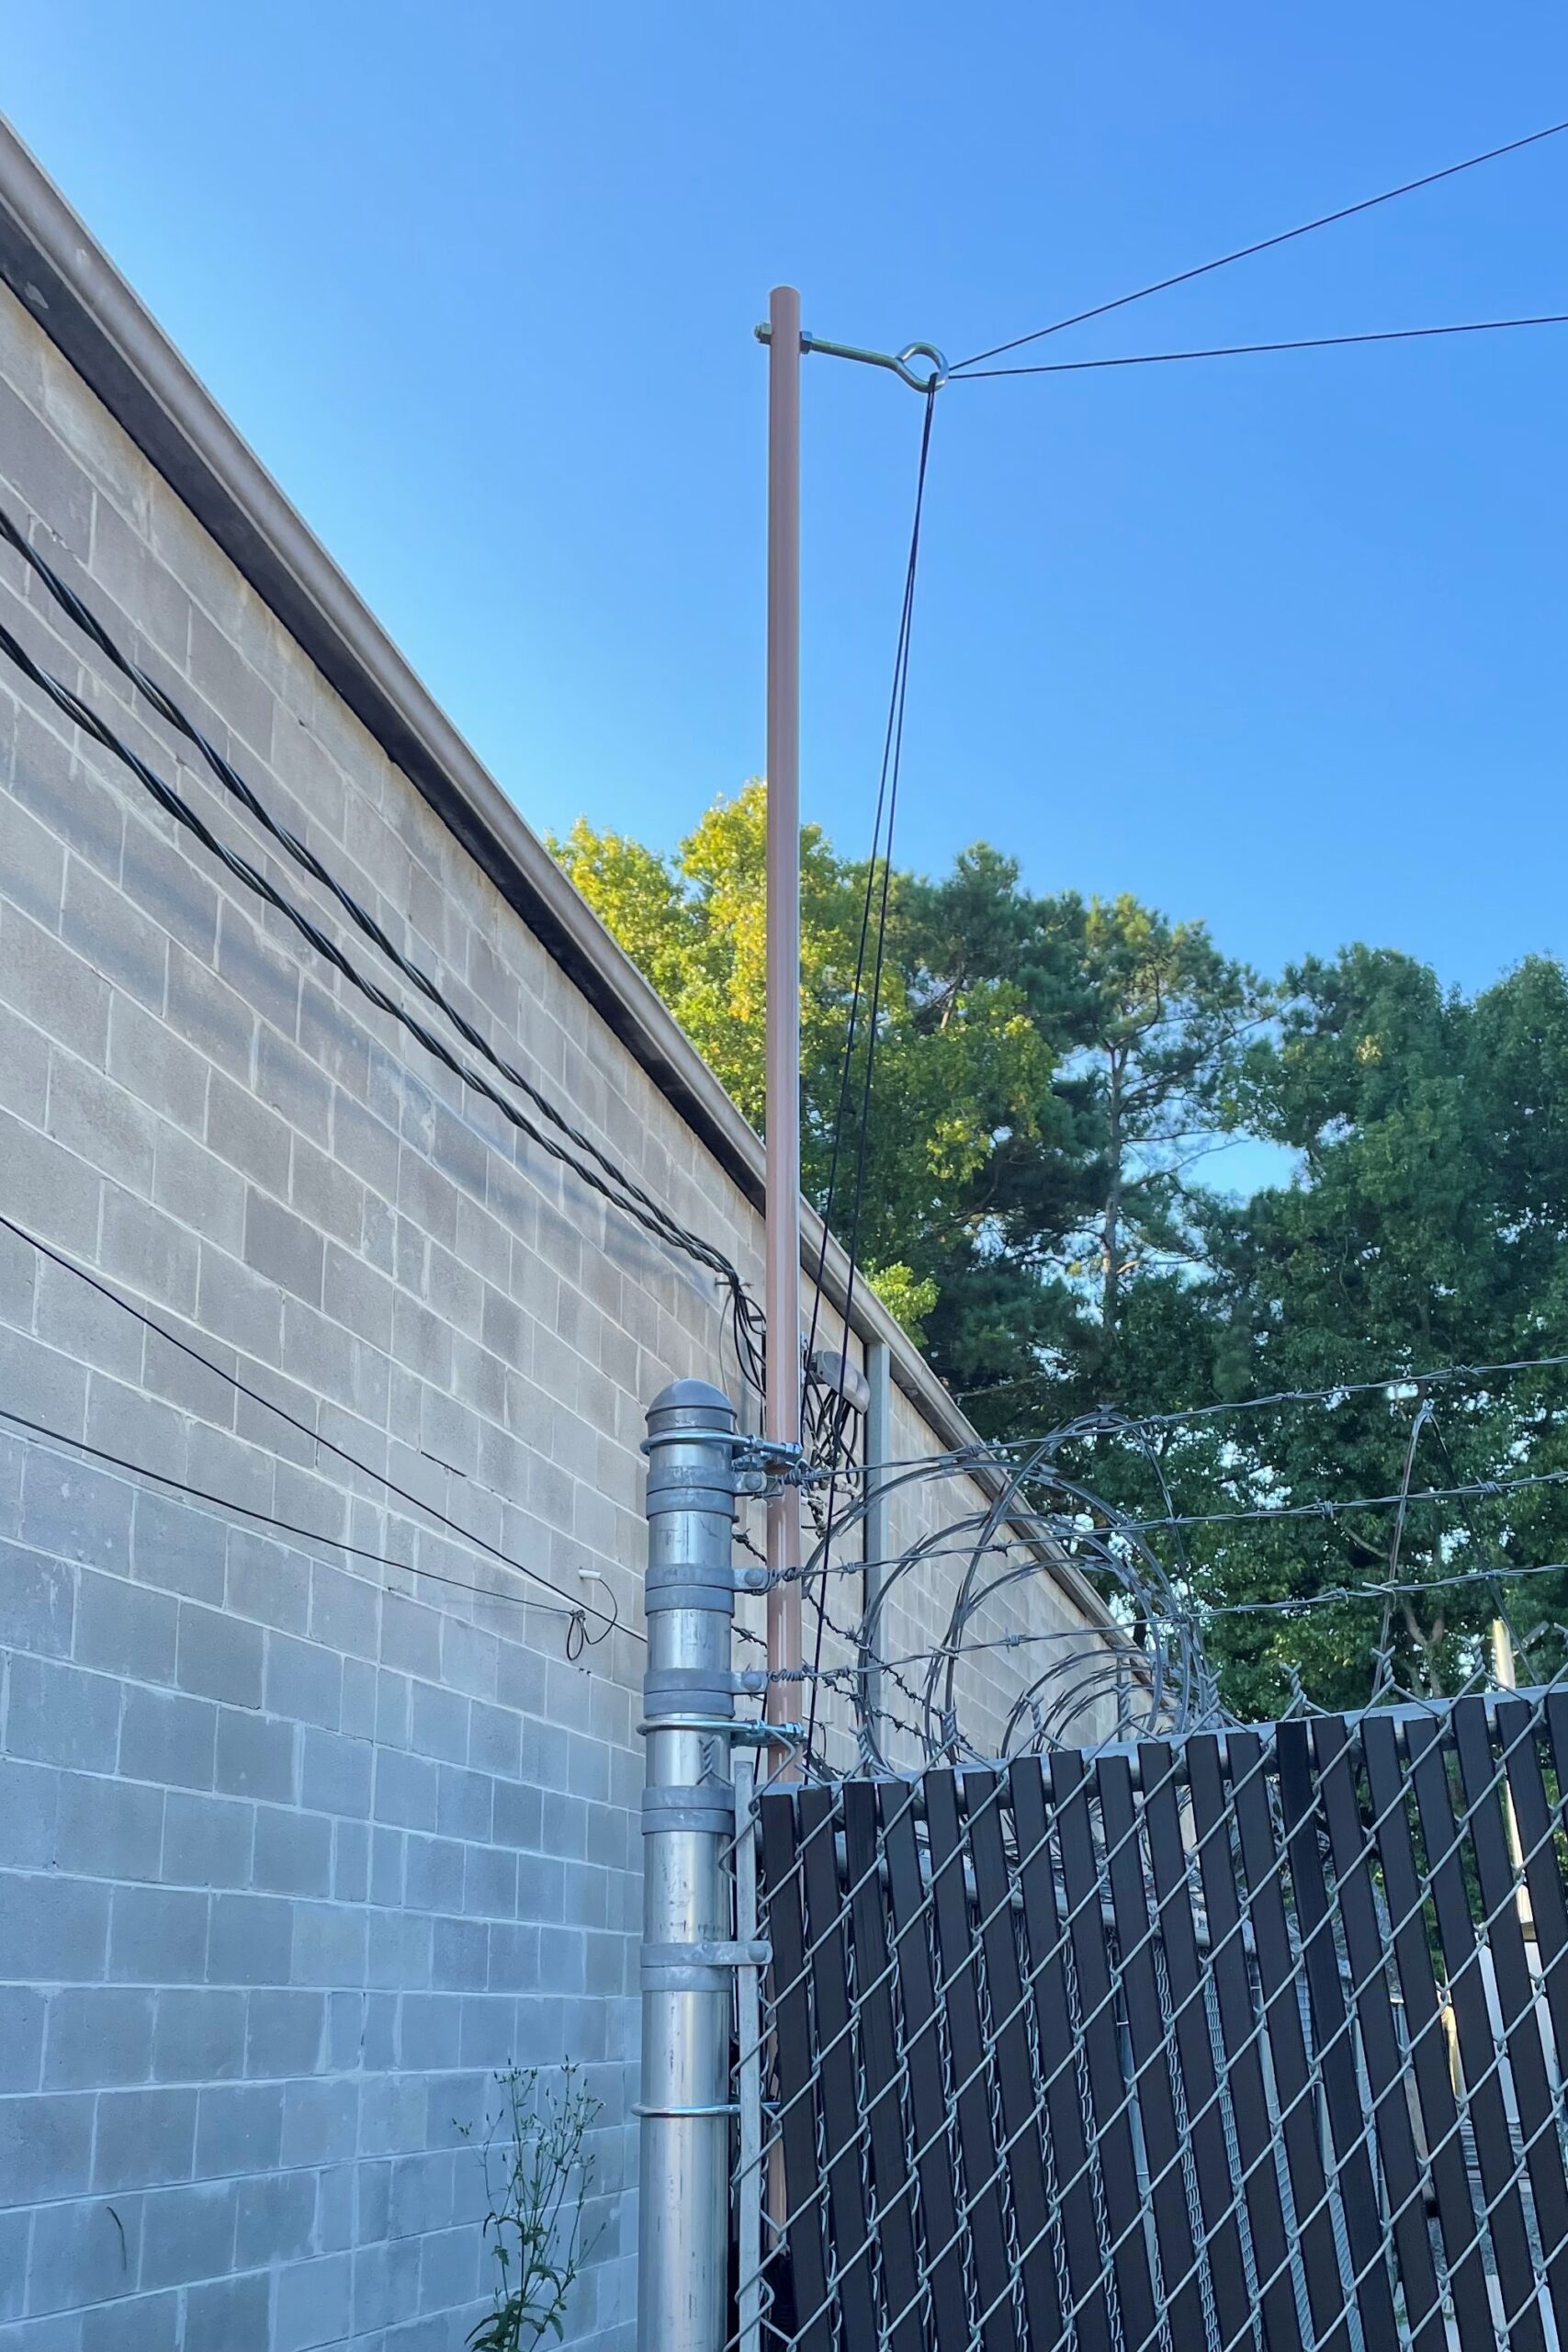
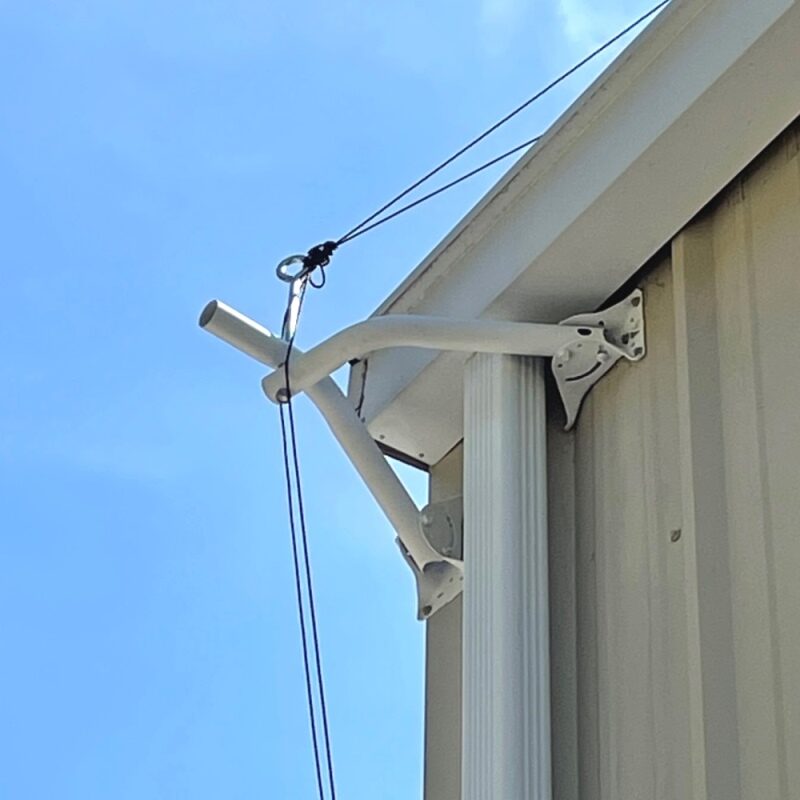
On our property, we needed to be sure that the guy lines would not EVER get in the way of semi-trucks for deliveries. In order to do that, we had to go with elevated guy points instead of the traditional, and MUCH easier, use of Guy Stakes that would be directly hammered into the ground. We are working on our Guy Point “A” as seen in the picture below

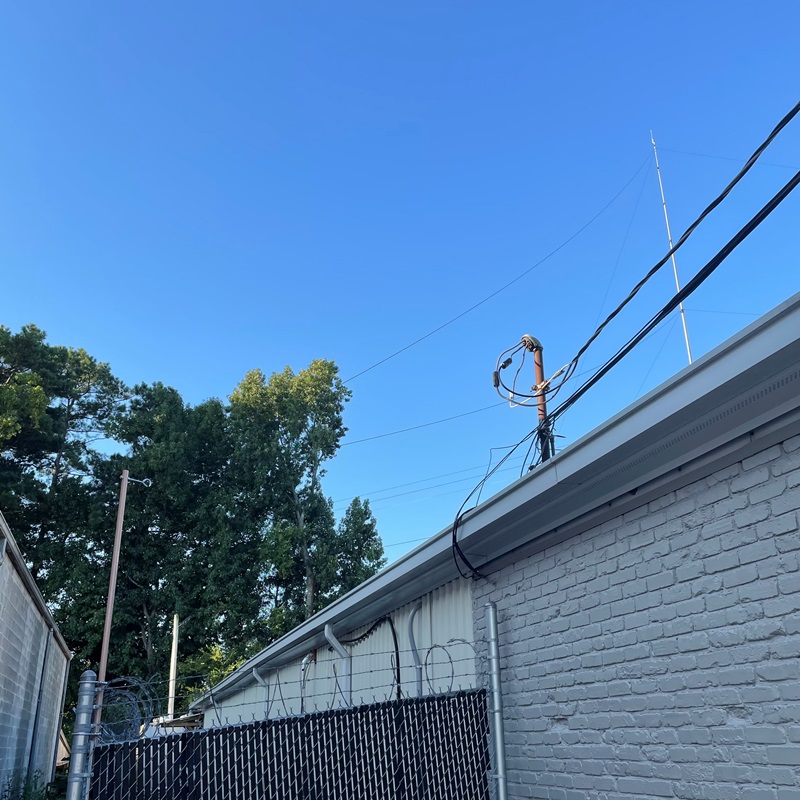
Where Guy Point “A” is located, is our power drop from the local utility. We wanted to be sure to stay away from this and also make sure that our guy ropes do not touch the roof of our building. If your guy ropes are allowed to touch anything, this could abrade your rope over time and cause a failure.
Materials Used
The major piece to achieve this elevated guy point was the 1.25 inch OD Round Solid Rod. I wanted to use something that I knew I would NEVER have to touch again. When I do things, I live by the motto: “Do it right the first time or you will be doing it again”. This solid fiberglass rod can be attached using U-Bolts and Saddle Clamps with no fear of “over-tightening”, which would be the case when using a round hollow tube. Tubes are great when used in applications where weight is an issue. But, in this case I needed raw strength. The solid rod of the same diameter tube would have exponentially more material in it which adds to its strength. Fiberglass Rods also have the ability to flex some, if there is a large sudden load, then return to its original shape. It is a good “shock” absorber.

We used materials from:
1x 1.25 inch OD Round Solid Rod x 93 inches
8x 3/8 x 16 thread, 3.5 inch x 4.625 inch long Ubolts
4x 1.25 inch Saddle Clamps
1x 1/2 inch Eye Bolt
Construction
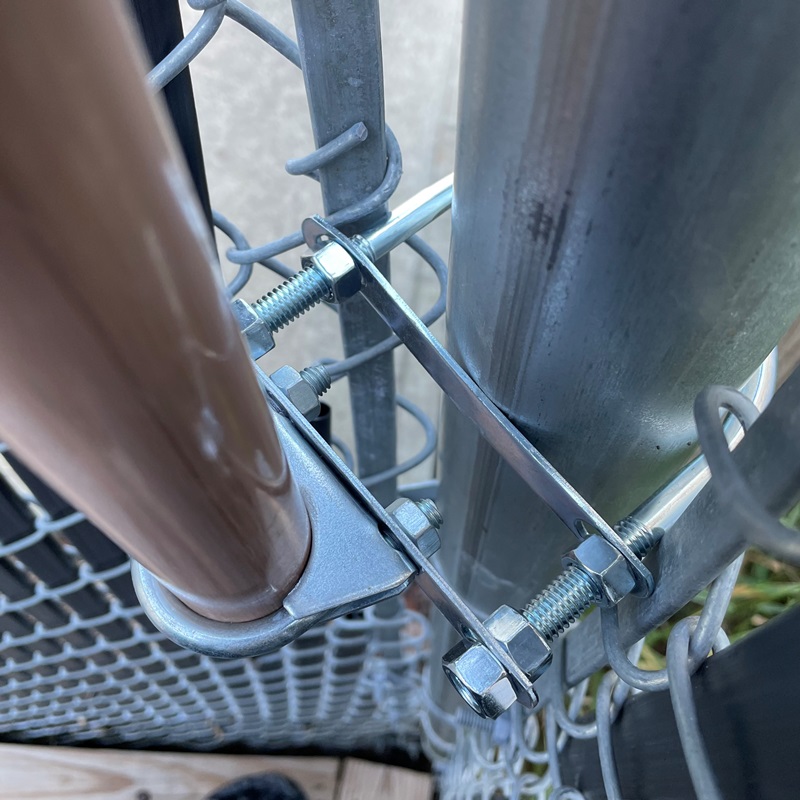
In order to attach the 1.25 inch OD Round Solid Rod to a 2.875 inch Fence Post I first had to come up with a U-bolt that would fit around the fence post and not be too wide and cause it to be loose and sloppy. The legs of the U-Bolt also had to be long enough in order to have more room to stand-off the fiberglass rod away from the fence post. Once I found the U-Bolts I was going to use I had to get double the amount of them. This supplied me with extra of the plates that come with them. The extra plate will be drilled in in order to attach the saddle clamp that will be clamped onto the fiberglass rod.

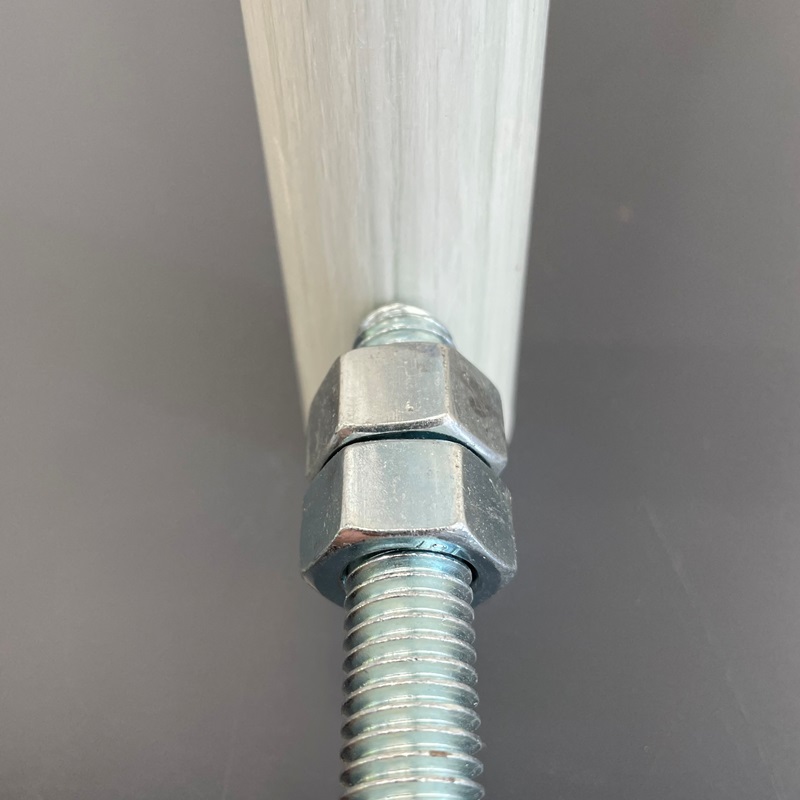
My diagram above illustrates my assembly of the Saddle Clamp to the U-bolt to the Fence Post. I made 4 of these setups and had them ready for the Fiberglass Rod to be inserted. Before we insert that rod though, we need to drill the hole for the eye bolt and install it. I had an 8 inch long eye bolt from a previous project, but a shorter one would have been just fine. I used a nut on either side of the rod so that the eye bolt would stand away from the rod.


Installation
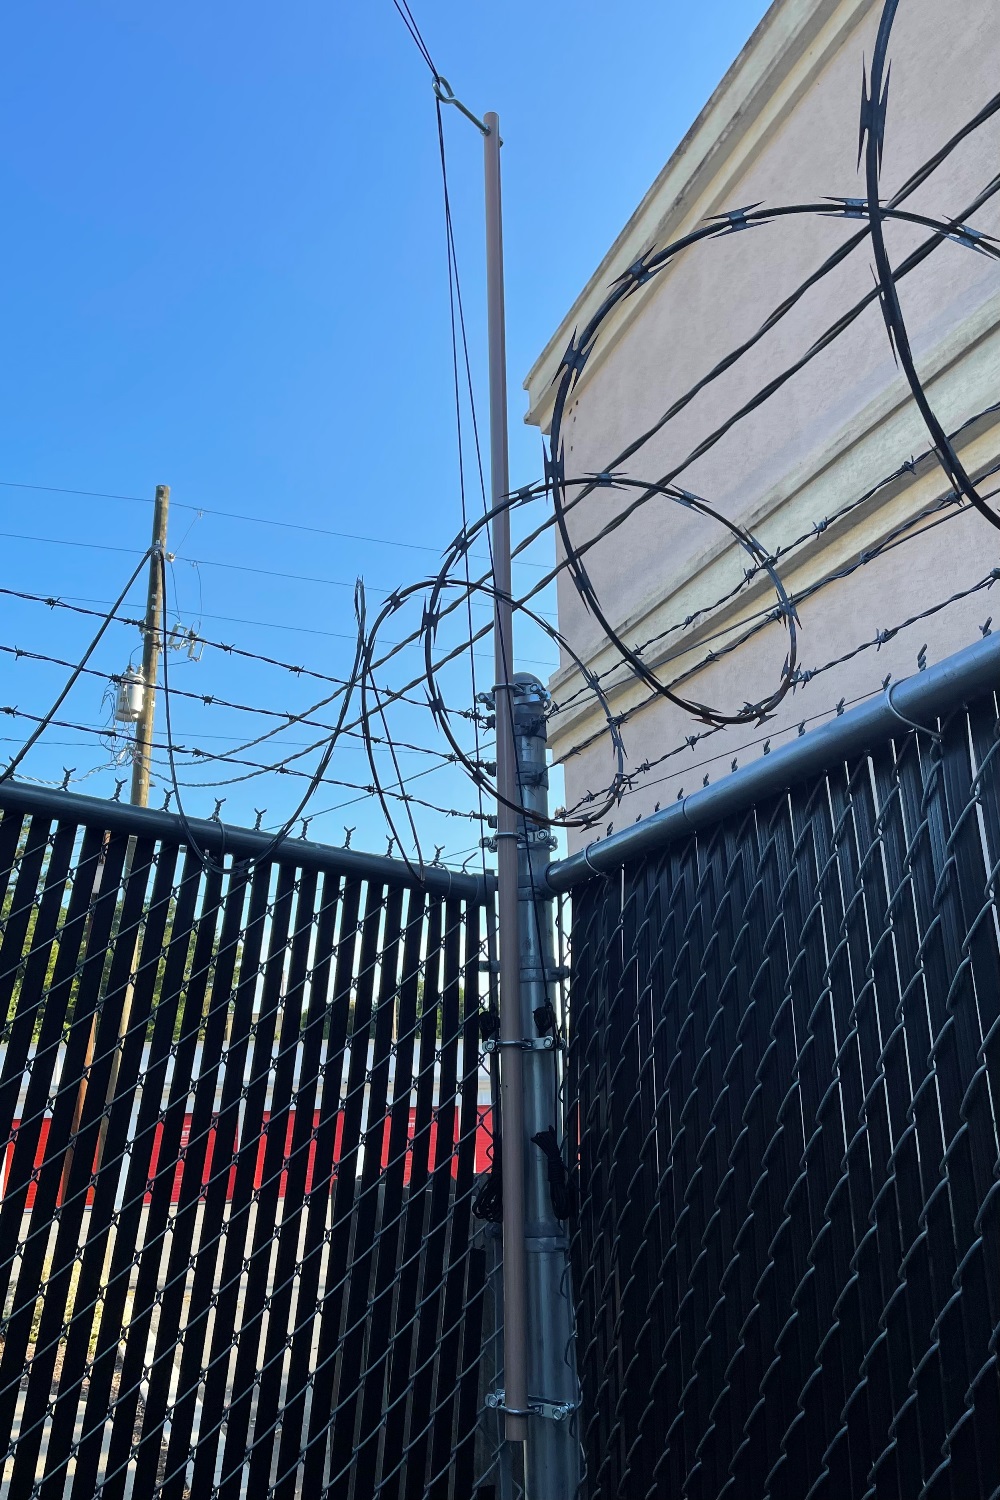
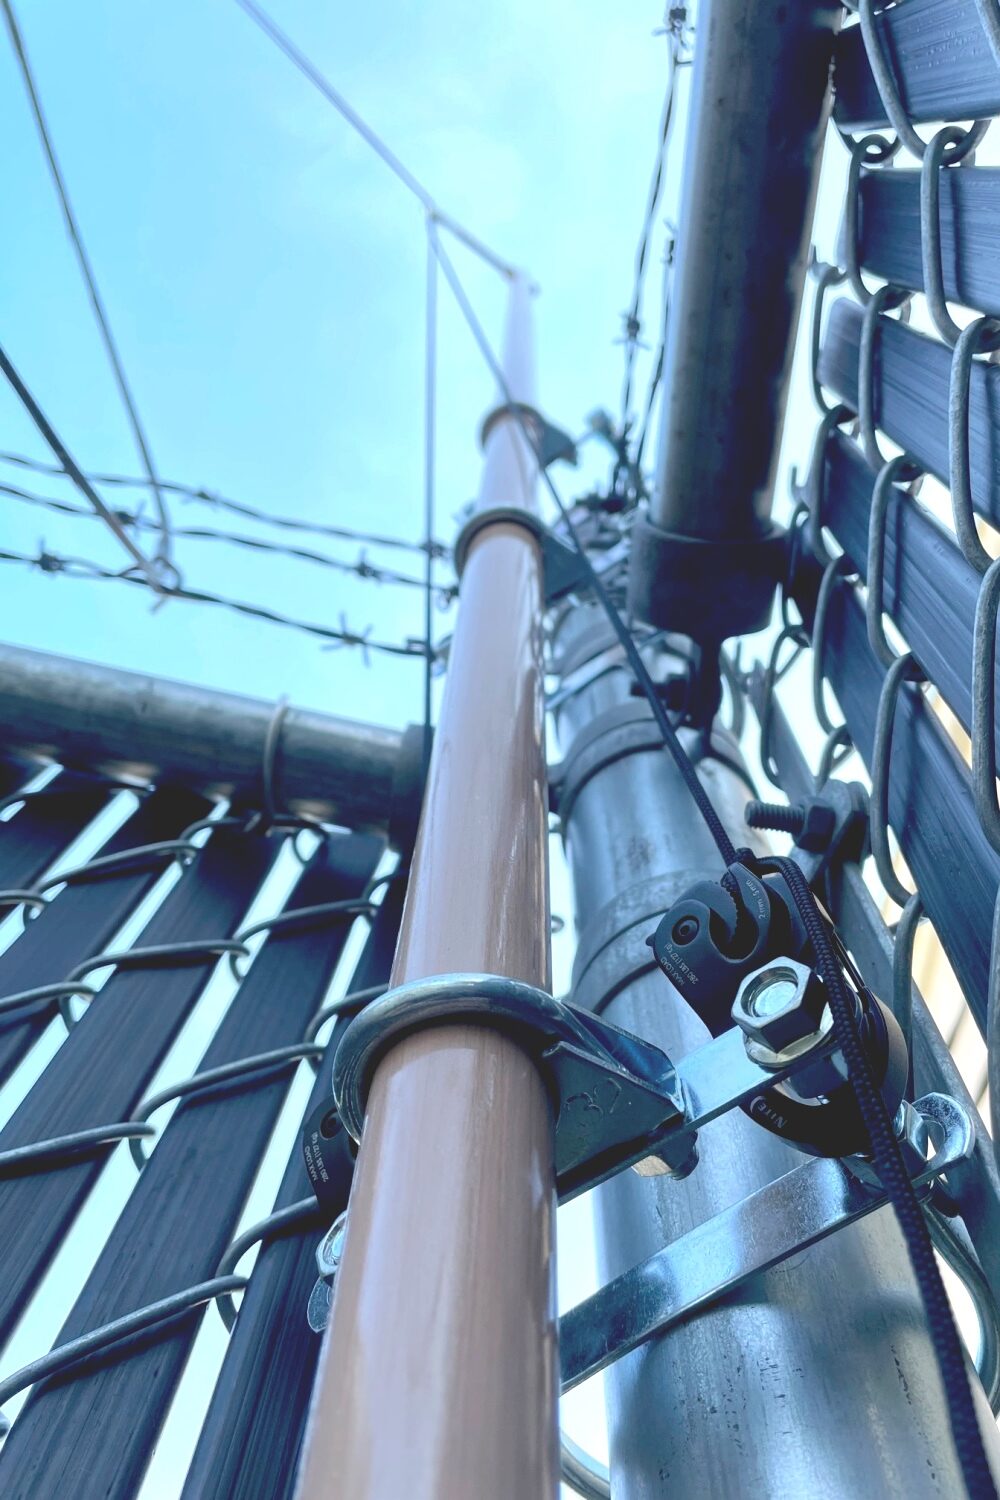
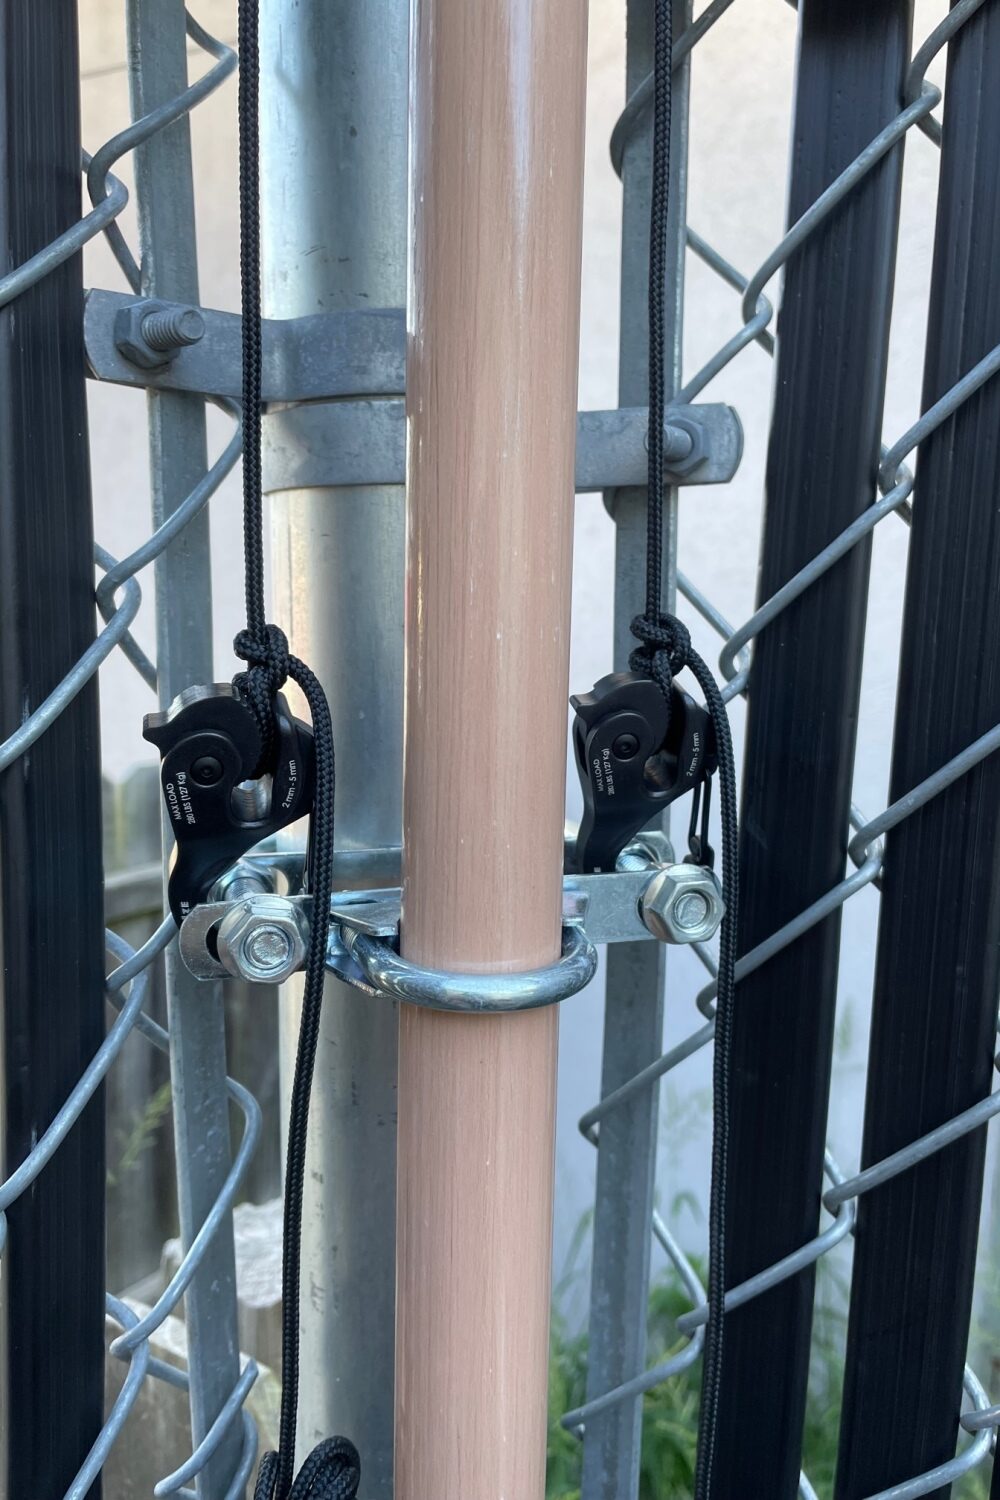
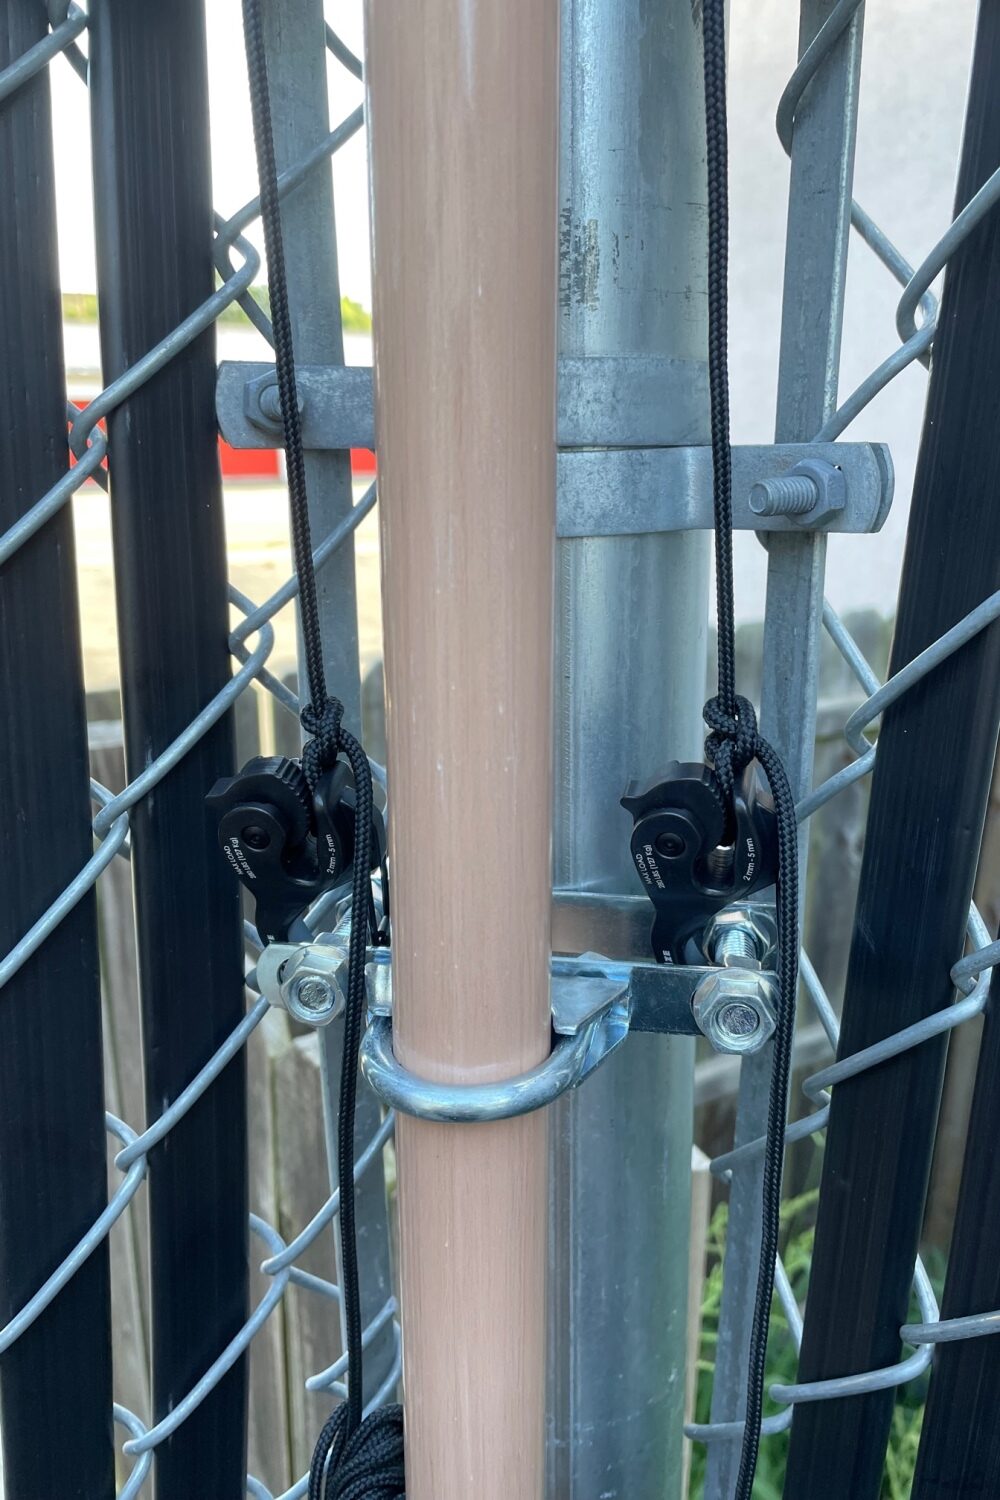
Once we were ready to install I started by attaching the U-Bolts to the Fence Post. I tightened the bolt to the point that the plate started to bend. Next, I attached the saddle clamp to the plates I drilled. I did not tighten these saddle clamps yet, as they were not on the 1.25 inch Solid Rod yet. I installed another nut onto each of the U-Bolt Legs in order to have a stop point for the saddle clamp assembly to rest on. I then opened the saddle clamps and fished through the solid rod. At this point I was ready to put the rod and saddle clamp assemblies into place. This was a bit tricky. Put the bottom one into position first, install the two nuts for only a 1/4 turn, to give you as much wiggle room as possible. Then, begin trying to seat the other saddle clamp assemblies one by one from bottom to top. Once in place, install the rest of the nuts onto the U-Bolts and it is ready for action.
When you are ready to guy the mast, the U-bolts make for perfect attachment point for the Guy Tensioners we love to use.

See Part 4 – Commercial Business Edition – Elevated Guy Point on the side of a building – COMING SOON
Missed Part 1? See HERE our mast installation from the beginning!