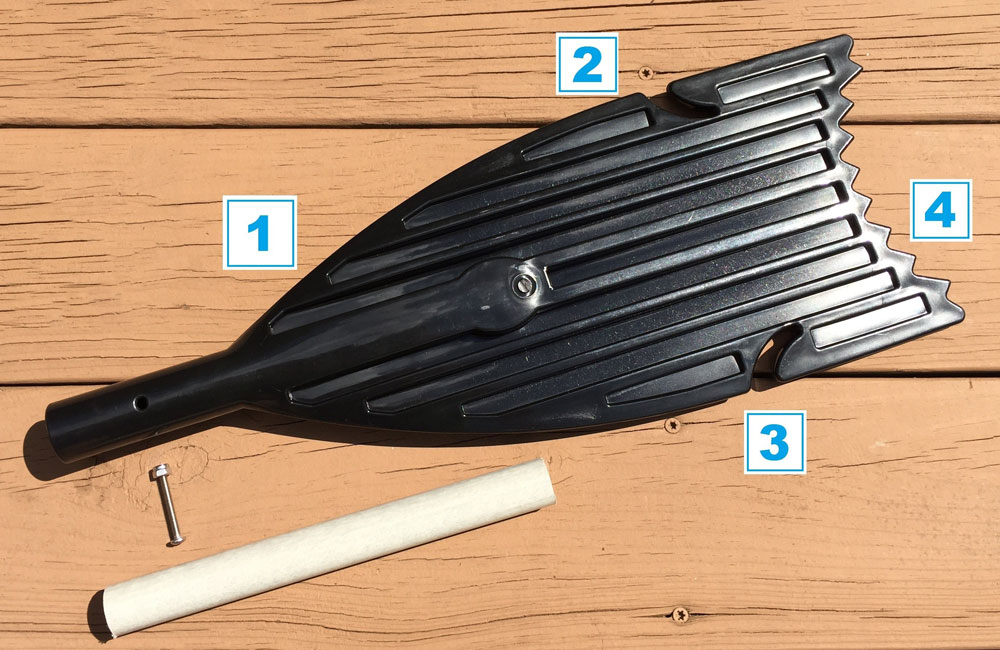
Typical uses include:
1. Emergency Paddle. Meet your coast guard requirements to have a paddle on board and have additional capability.
2. Lure Retriever. Save those hung lures with the integrated lure retriever.
3. Decoy Retriever. Save room in your boat with the integrated decoy retriever.
4. Push Pole. Use as a push pole for pushing off the bottom for added stealth of use to push off, or away from, obstacles.
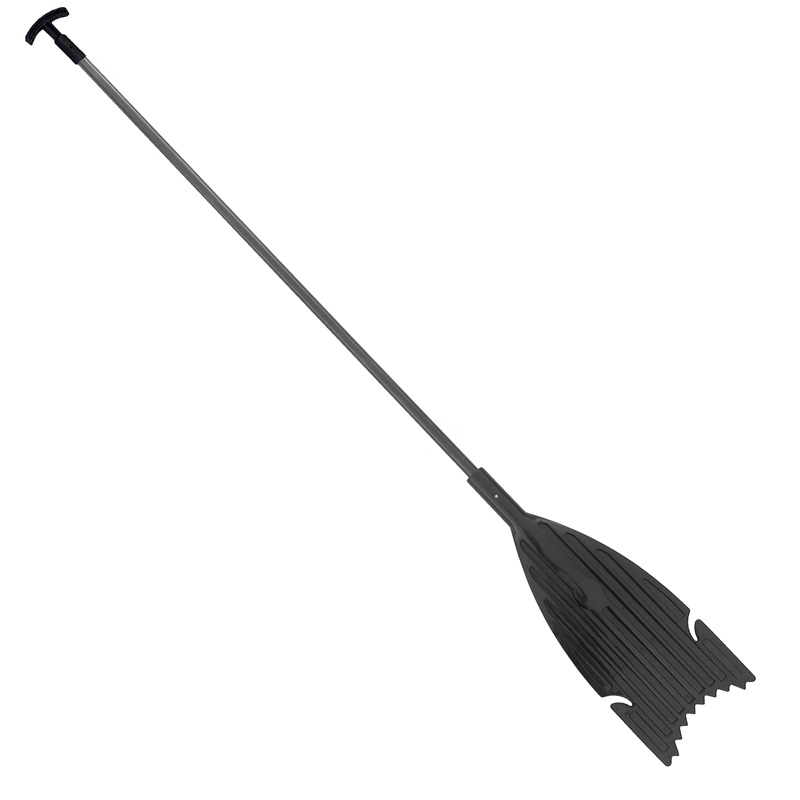
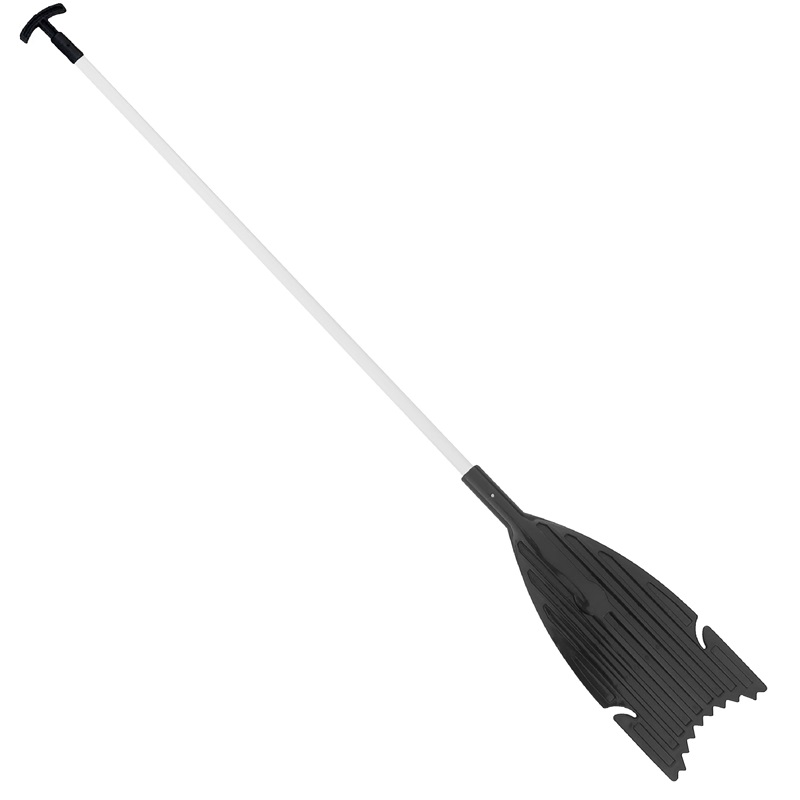
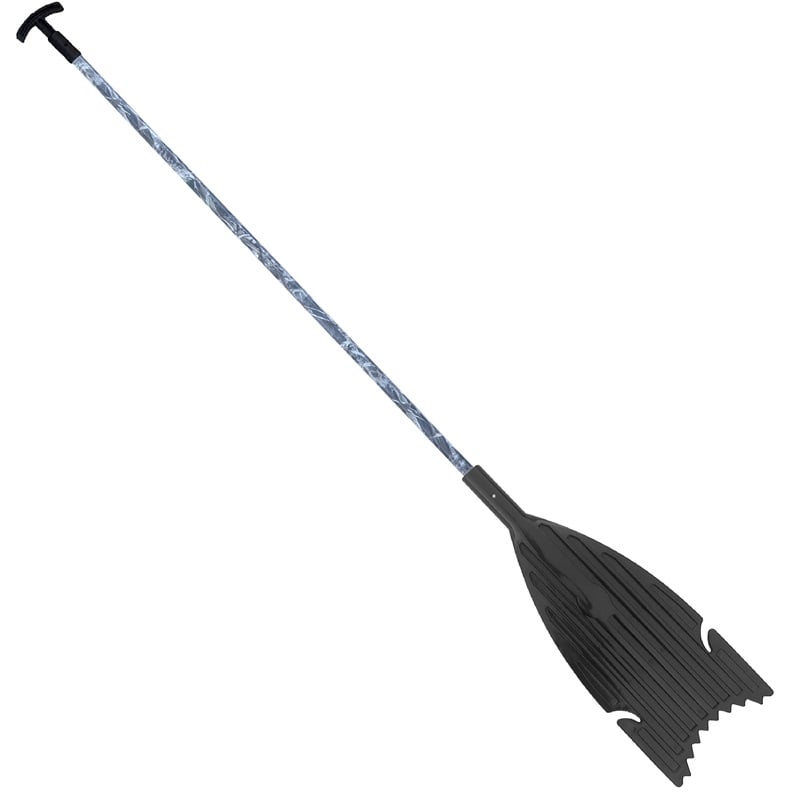
4-in-1 DIY 1-Piece Paddle Kits
Image
Title
SKU
Pricing
Purchase

4-in-1 Modular Add-on Paddle Kits
Image
Title
SKU
Pricing
Purchase

4-in-1 Paddle Installation
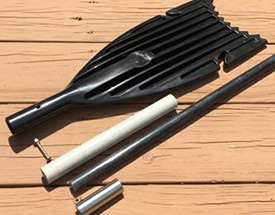
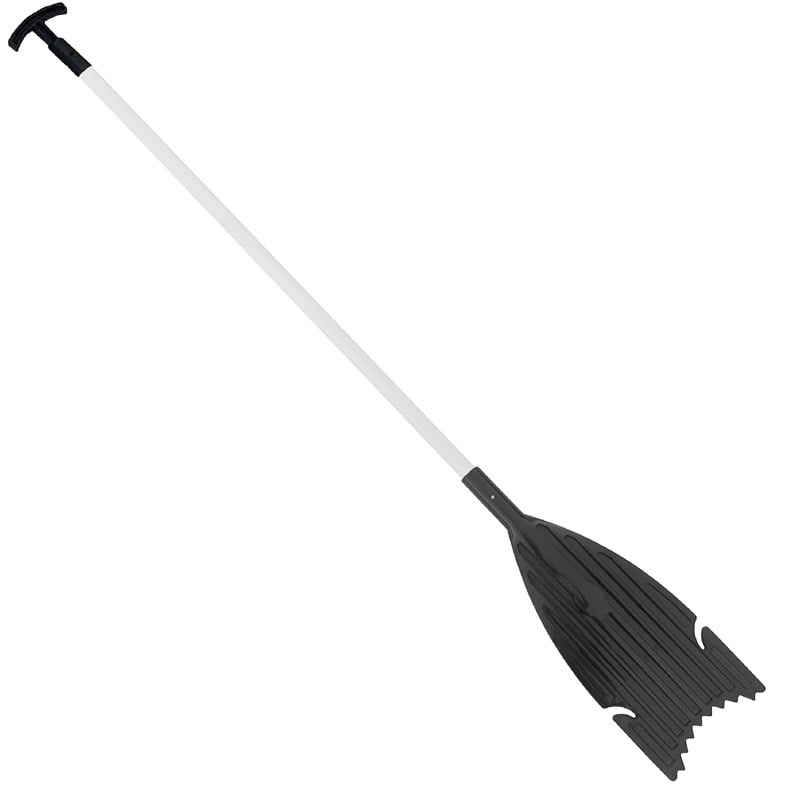
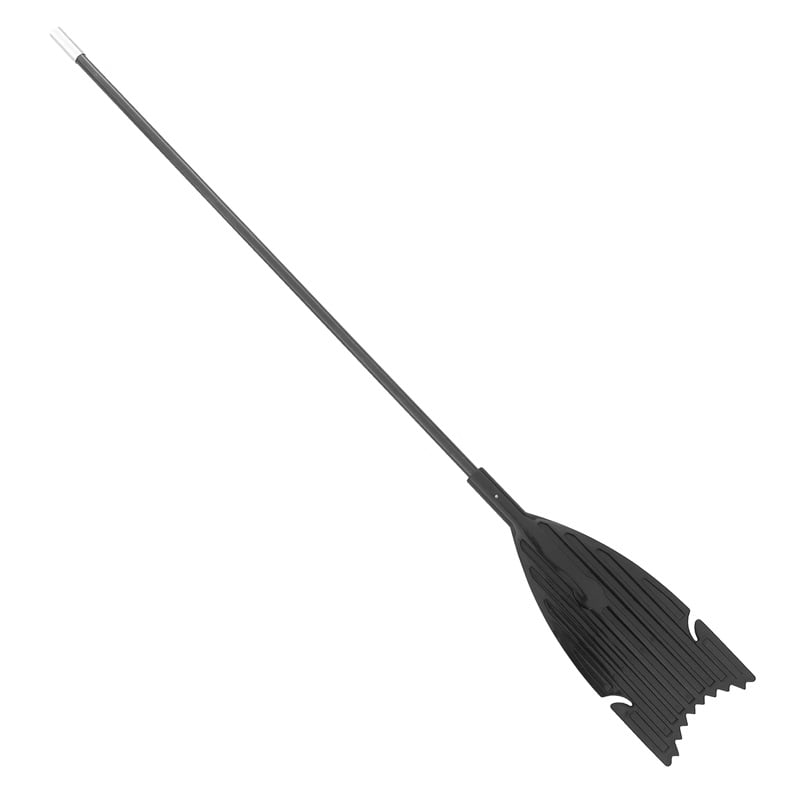
Unassembled
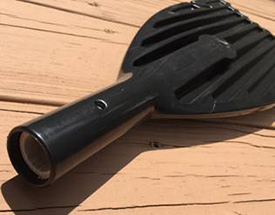
Ferrule Installed in Paddle
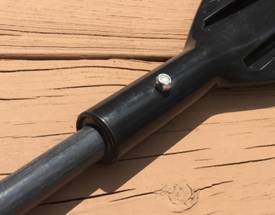
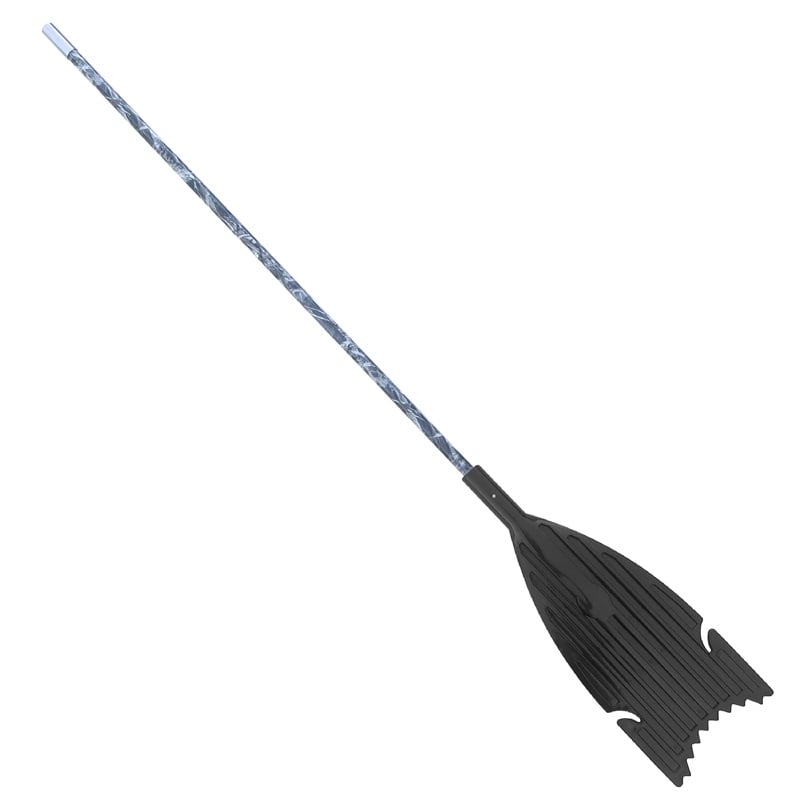
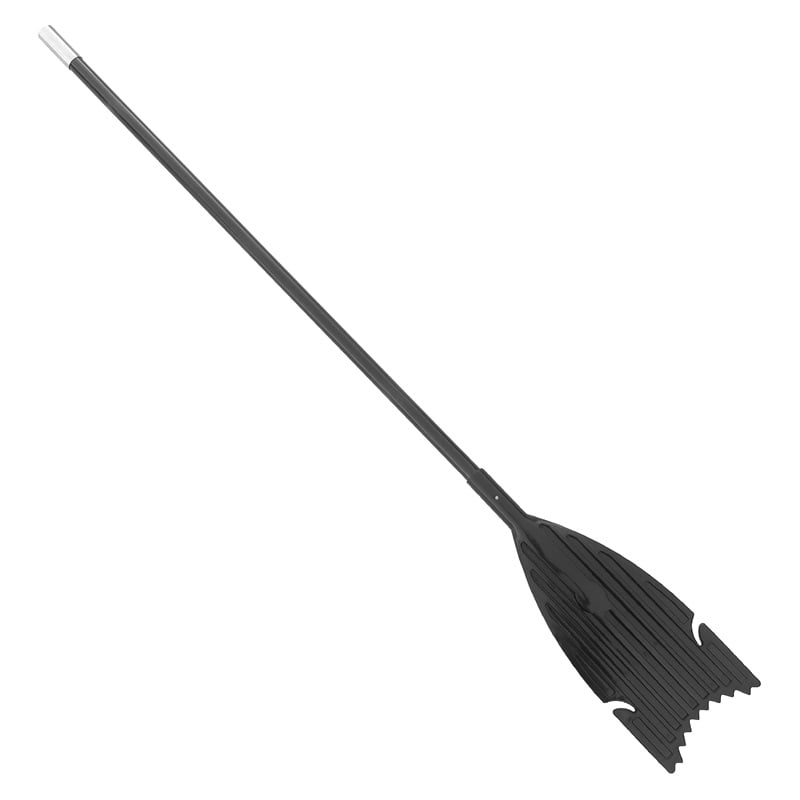
Rod and Stainless Screw
Assembled
The 4-in-1 paddle can be used on 1 inch and ¾ inch diameter rods. The 4-in-1 paddle uses a hollow ferrule for spacing that is 1 inch outer diameter when being used on ¾ inch diameter solid rod. When gluing in this ferrule, lather the outside of the tube with adhesive and slide it into the paddle. When gluing the 4-in-1 paddle onto the end of a solid rod, air pockets can form between the rod and the 4-in-1 paddle. To avoid this DO NOT smear glue around the end of the rod. Instead, apply the adhesive in vertical, equidistant, strips around the rod. This will allow any air to escape between those strips of adhesive when attempting to place the 4-in-1 paddle on the rod. When the 4-in-1 paddle is fully seated onto the rod, simply twist the 4-in-1 paddle on the rod and turn it in either direction one quarter turn to then smear the adhesive around the rod. When the adhesive has had enough time to set up AND fully cure, it is time to install the provided stainless steel pan head screw. Use a 1/8 inch diameter drill bit to drill a hole at the provided screw location in the shaft of the 4-in-1 paddle, through the ferrule, rod, and out the other side. Insert the pan head screw and use the provided nut with the nylon self-locking insert.
Important Assembly Note: Before attaching the stainless steel coupler or the 4-in-1 paddle to either side of the rod, be sure to line up the paddle and t-grip by screwing the t-grip section, which should be completed first and was covered on page 3 of the installation guide, into the female coupler that should be installed on the other end of the rod from the paddle. Lay the entire assembly on the ground or table before any adhesive has a chance to cure. This will ensure that the paddle and t-grip are in the correct orientation to one another. If this is not done prior to the adhesive curing, when attaching the t-grip to the rod that has the paddle on the end, the paddle could be perpendicular to the t-grip making it very difficult to use correctly.
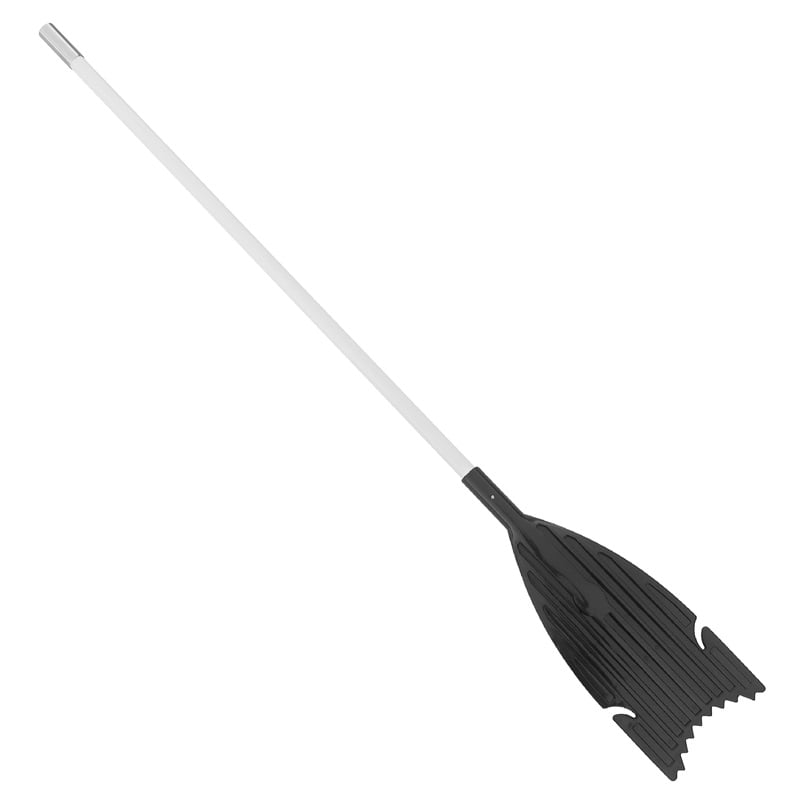
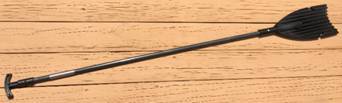
Meet your coast guard requirement of having a paddle while adding capability to your anchor system! Emergency Paddle, Lure Retriever, Decoy Retriever, and Push Pole all in one!
Material: Polycarbonate
Max length: 18.50 in / 469.90 mm
Max width: 7.00 in / 177.80 mm
Max thickness: 1.25 in / 31.75 mm
Weight: 17.39 oz. / 493 g