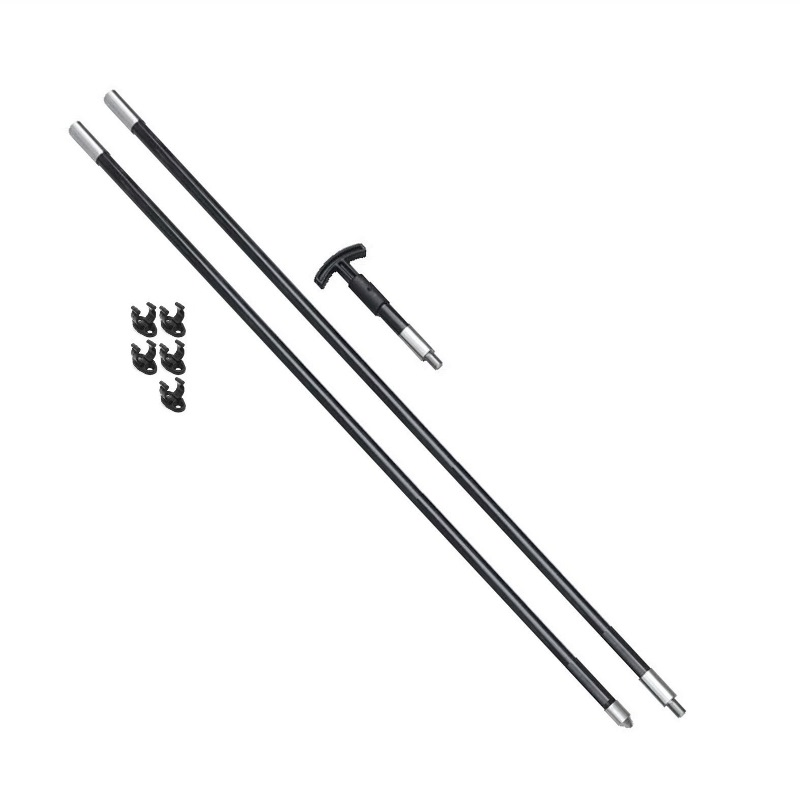
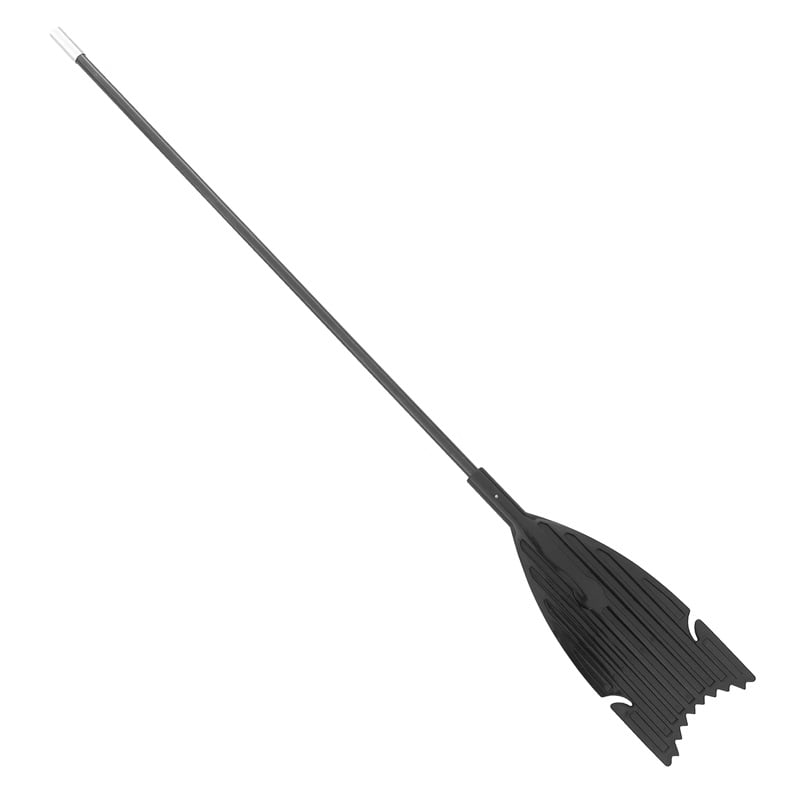
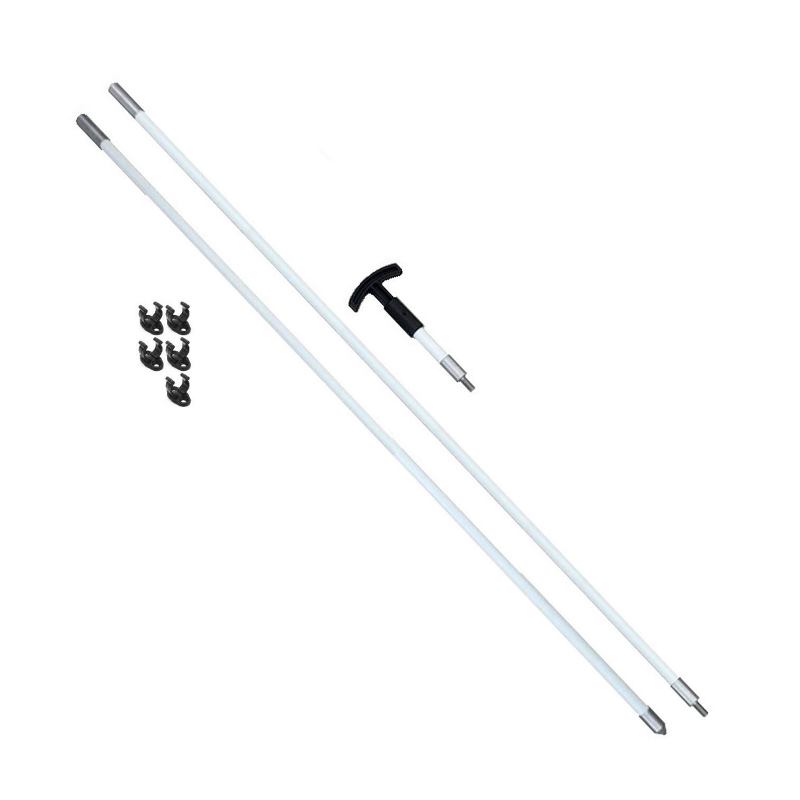
In this article we will be going in depth on how to make the shallow water anchor that you already have into a modular shallow water anchor. A modular shallow water anchor has MANY benefits. You can store them in a smaller location like a rod box or a storage locker on your boat. Storing it away makes would be thieves not see an easy target on a trailered boat in a parking lot. You can add capability like a 4-IN-1 Paddle, a push pole, a gaff hook, and even more accessories to come!
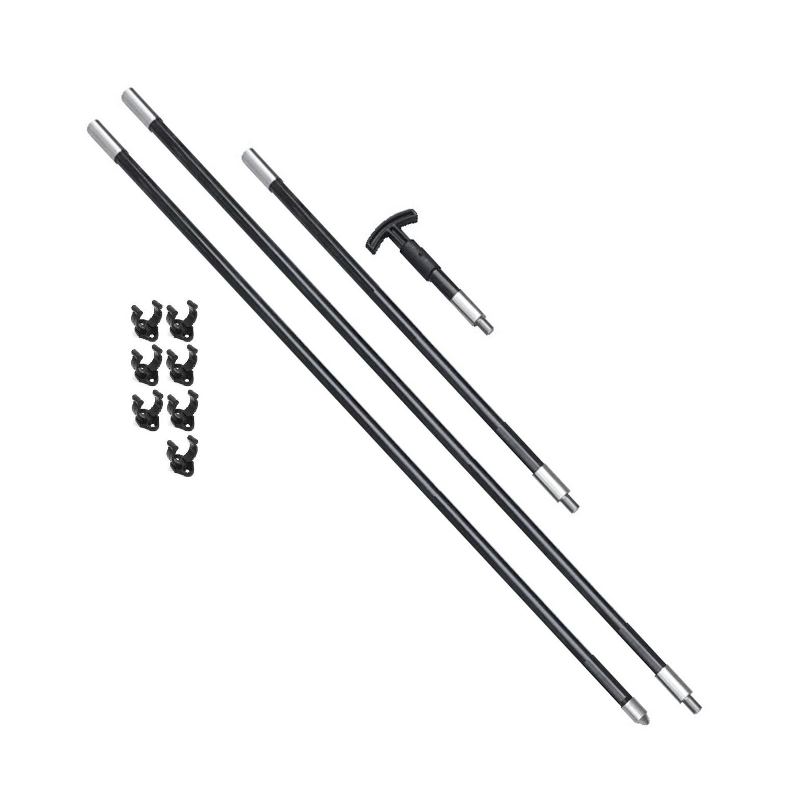

Max-Gain Shallow Water Anchor Kits
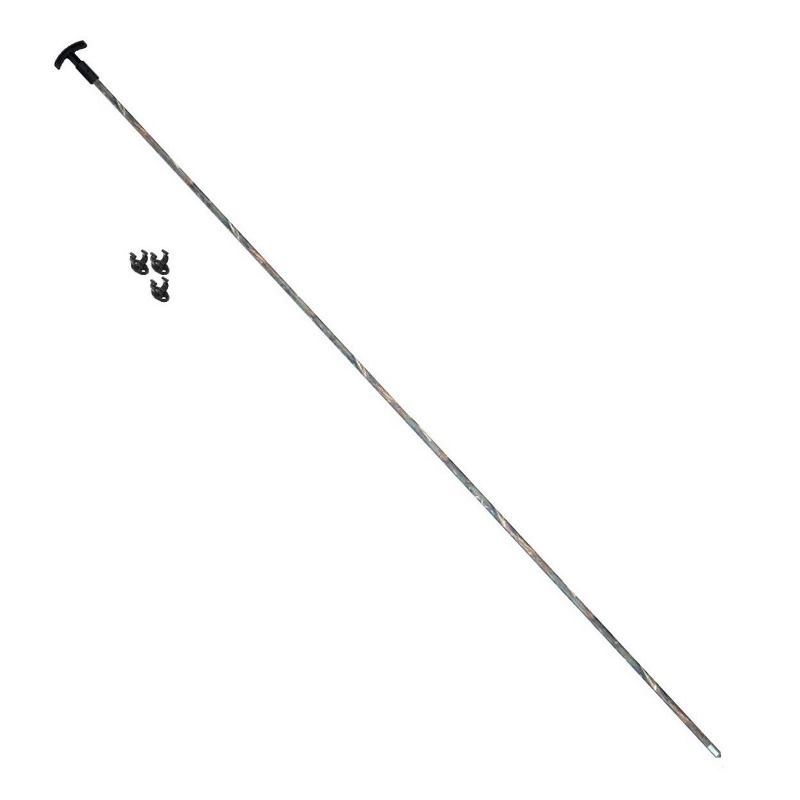
If you were looking for all of the parts needed to make a shallow water anchor you can see the original shallow water anchor kits OR the rod box shallow water anchor kits. These kits come with all the parts needed to make a shallow water without needing to cut.
How to cut and splice your rod
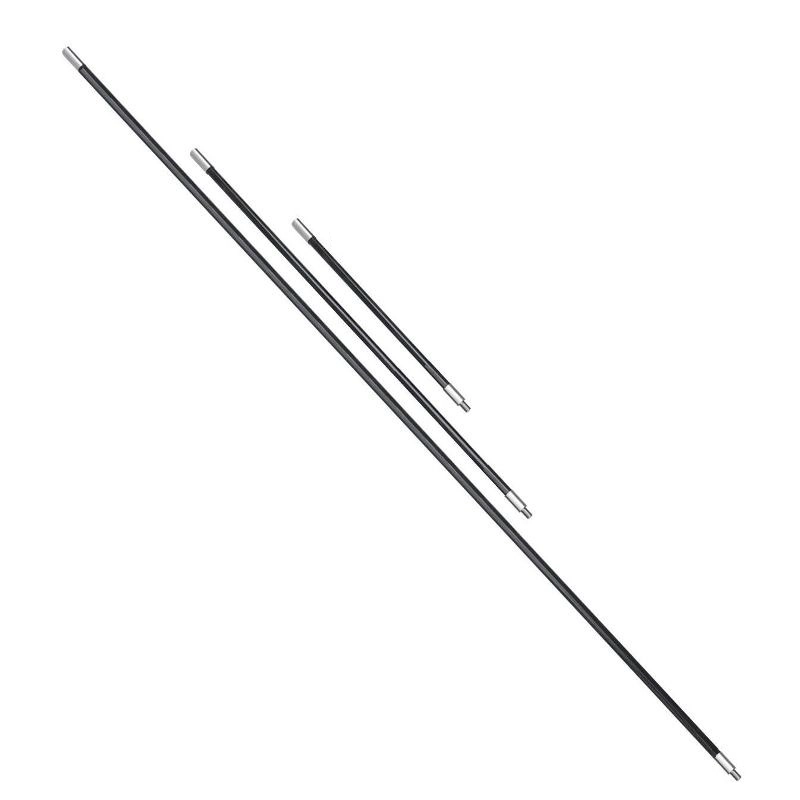
First you need to measure the outer diameter of your rod. We have modular components to fit over our 1 inch OD Solid Rods AND 3/4 inch OD Solid Rods. Our fiberglass rods are designed to be slightly undersized in order to full length sleeve with true 1 inch and 3/4 inch inner diameter parts so we designed all of our stainless steel and polymer shallow water anchor accessories to work with them. IF using other rods that are a true 1 inch and 3/4 inch in outer diameter you may need to have some coarse grit sand paper at the ready in order to make some additional room for adhesive to be applied to the rod and the part you are working with.
If you have a 3/4 inch rod, be sure to use ALL 3/4 inch parts and accessories and with 1 inch rods, be sure to use ALL 1 inch parts. If you happen to have 7/8 inch rods that measure in at 0.675, if you use our 1 inch parts for these, you will need to use more epoxy to fill the voids that would be present when assembling.
Cutting your rod
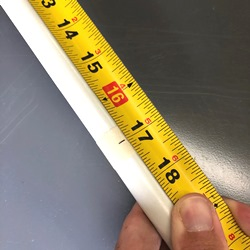
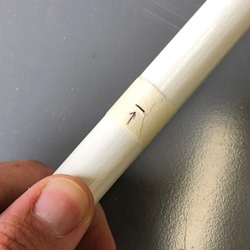
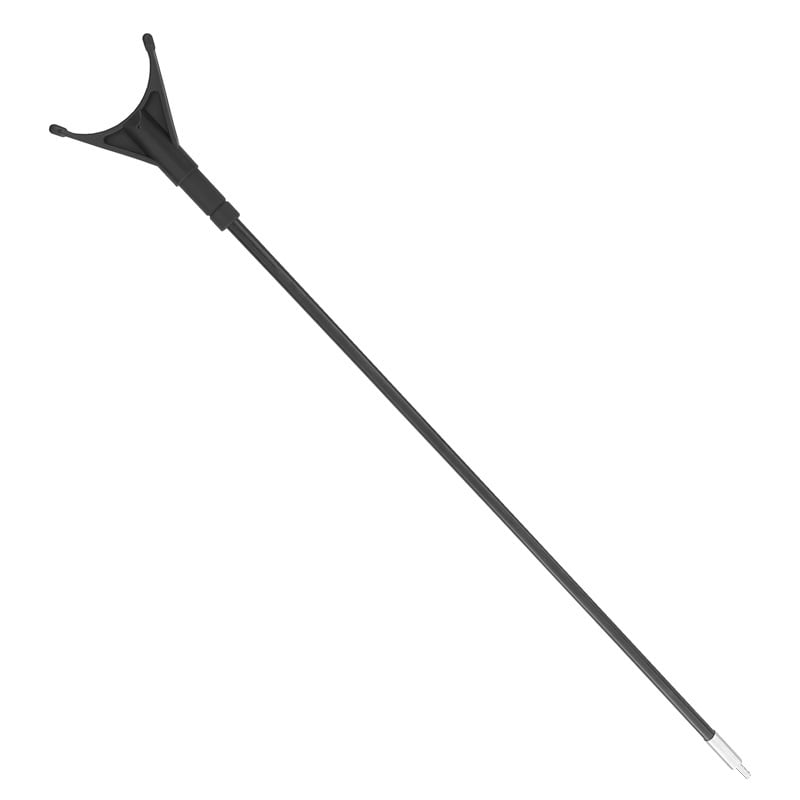
Measure where you want to make the splice. Many people either cut about 6 inches down from their “T-GRIP” to add a coupler in order to make the handle removable to add in anchor extensions and other thing. Others put the splice in the middle of their shallow water anchor in order to have a permanently longer modular handle section. Either is a good way to go. Just choose which works best for you.
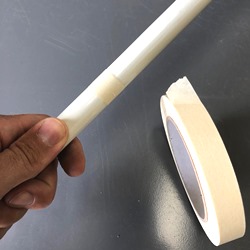
Wrap the rod at the cut location with a couple of wraps of masking tape. This will allow for less “fraying” when you make the cut through the back side of the rod.
Tools to use

You can use many hand and electric tools to get the job done.
- Hacksaw with fine toothed blade
- Multitool (like a Leatherman) using the “FILE” as it is perfect for fiberglass cutting. DO NOT USE THE “SAW”. The “SAW” attachment will rip the strands and make a nasty cut.
- Angle Grinder with abrasive cutting wheel
- Circular saw with abrasive cutting wheel
- Miter Saw (Chop Saw) with abrasive cutting wheel. OUR FAVORITE
With the cut complete, wipe the rod down with a damp cloth to remove any surface dust then allow to air dry.
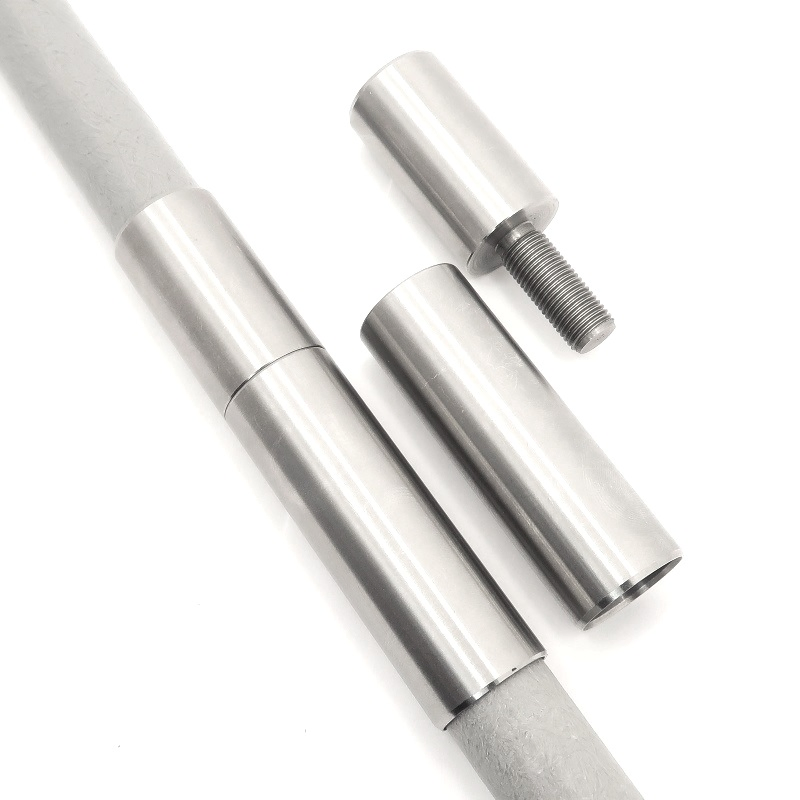
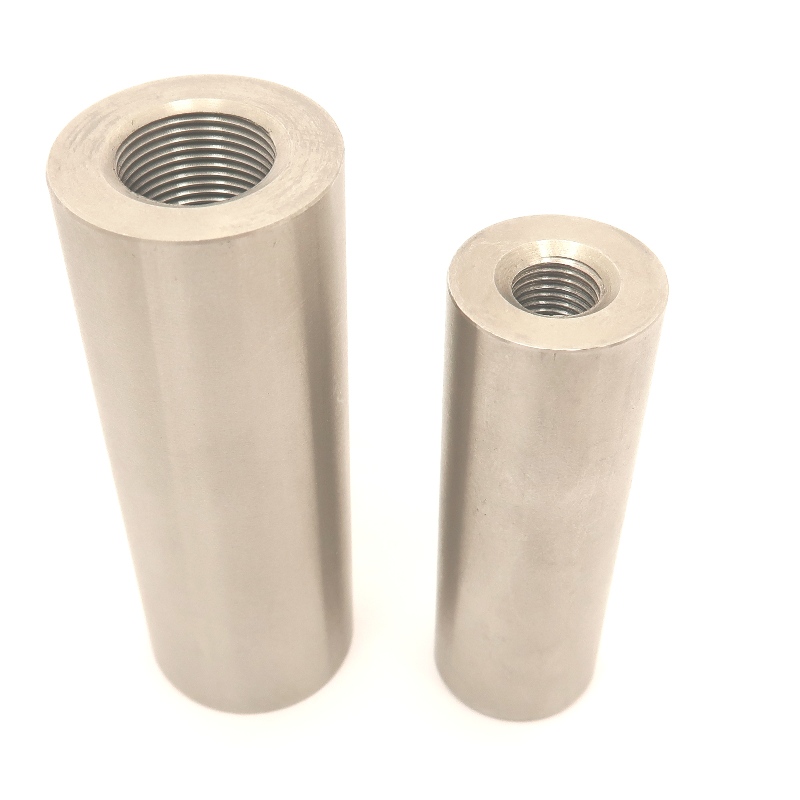
Stainless Steel Couplers
When the rod is cut your are ready to grab the appropriate sized stainless steel coupling.
These are available as a male and female threaded pair OR individually. BE SURE TO PLAN. If you are going to be adding any of our accessory kits, all of the kits for the paddle, push pole, etc… use a female threaded coupling on the other end. If you want to be able to use your own T-Grip with these kits BE SURE to apply the male threaded coupler to the portion of your rod that has the T-Grip on it. This will make adding capability, in the future, easy!

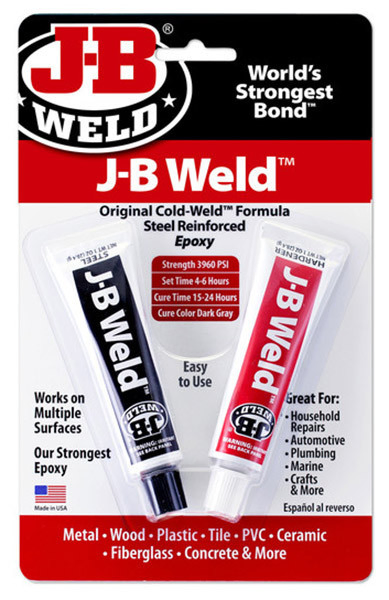
Adhesive to use
There are several epoxies that work great. The epoxy that works well and is the easiest to obtain is the JB Weld, 2 part epoxy called “The Original Cold Weld Formula”. It comes in two tubes that you have to hand mix. You squirt out onto a piece of scrap card board 50% Hardener and 50% “steel” resin. Mix it together with a small flat head screw driver and use this to apply it onto the rod in thee linear strips around the rod. When installing the coupler this allows to air to escape from between the rod and the coupler to not form an air pocket that will push the coupler off of the end of the rod during assembly. Push the coupler on and give the coupler 3 to 4 half turns around the rod in order to spread the epoxy. Once this epoxy sets up it will be almost as hard as the stainless steel coupler and fill the voids between the coupler and the rod. After this we will proceed to one of the two pinning methods.
Other Epoxies
There ARE better epoxies to use that are stronger, but they are more expensive and harder to get. Some of these epoxies hold so well that the adhesive could not even be chiseled off of the surface of the fiberglass.

- Plio Grip 7779 and squeeze gun (amazing bonding properties) expensive for small jobs and great for large production runs
- 3M 38315 and squeeze gun
- 3M Scotch-Weld Urethane Adhesive DP640
- 3M Scotch-Weld Composite Urethane Adhesive DP6310NS
Adhesives NOT TO USE
There are many adhesives that people might think would work but confirmed DO NOT:
- Super Glue
- Any Wood Glues
- Any glue that needs air to cure. Epoxies are the only type of adhesives that will work.
Pinning Methods
Adhesives are great, BUT when I build something I want to do it once and never worry about it again. For building a shallow water anchor it is smart to make the chemical bond AND a physical bond by drilling a hole and installing a stainless pop-rivet, a stainless bolt, or a roll pin.
Using a 3/32″ pop rivet, bolt, or roll pin is all it would take to make SURE that the coupler, or any other part, is not coming off of that rod section.
Pinning method number 1 is very easy. Using a 3/32 inch drill bit, drill through the coupler and the rod. You can drop in a little more epoxy into the hole then add your pop rivet, bolt or roll pin. Once the epoxy sets up that coupler isn’t going anywhere!
Pinning method number 2 works great and is perfect for those who want a very “FLUSH” installation. Drill a 3/32 inch hole through only one side of the coupler and halfway through the fiberglass rod. Drop in a little epoxy and place in a shorter roll pin or bolt. This method can be installed in more of a “flush” manner and would still require a significant force for the coupler to come off, which in our 35+ years in business has not happened =) (FYI, this is not an invitation to a challenge).
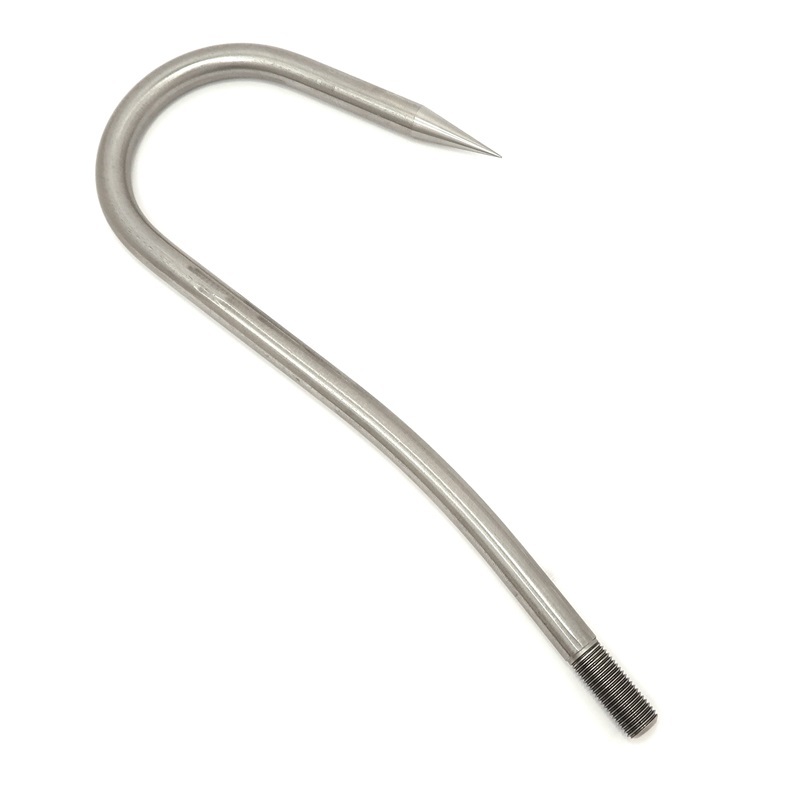
Modular Anchor Accessory Kits